Note:
The Forney machine HMI does not support label printing. We recommend locating your printer and printing PC near your specimen mold stripping area. You will then be able to immediately apply the label to the specimen after stripping and before placing it in the curing location.
- After logging into ForneyTools, click the Print Labels link on the left navigation menu.
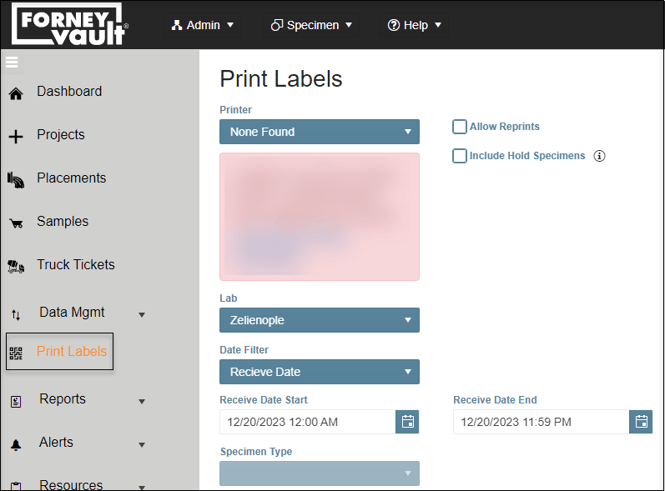
- The Zebra label printer connected to your PC should appear under Printer.
- You have 2 options to select the Specimens which need labels printed. Under Date Filter you can select Sample Date or Receive Date.
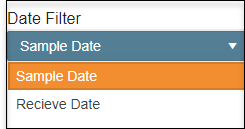
- Sample Date: Print labels for all Samples matching the Sample Date in ForneyVault®.
- Recieve Date: Print labels for all Samples matching the Receive Date in ForneyVault. If you are using a ForneyVault integration, the Receive Date might be the date the partner sent the specimens to ForneyVault and not necessarily the date they were received in the lab.
- The Specimen Count at the bottom of the page will display the number of matching records ready to be printed.

- Select Print to send selected labels to your Zebra printer.
Print Options
- Allow Reprints: Permits reprinting labels by an approved user. Once a label for a specimen has been printed, it cannot be reprinted without checking this box.
- Include Hold Specimens: Permits printing labels for Hold specimens included in a Set. Hold specimens do not have a designated test age or date, so some users choose not to print labels for these specimens.
- Lab: Allows the ability to select the Lab to allow printing of labels from another lab.