Before You Begin
- Ensure files (photos or documents) have already been uploaded to the sample
- Confirm you have permission to upload and manage attachments (See your company Administrator for access)
Steps to Generate a Report with Photos and Documents
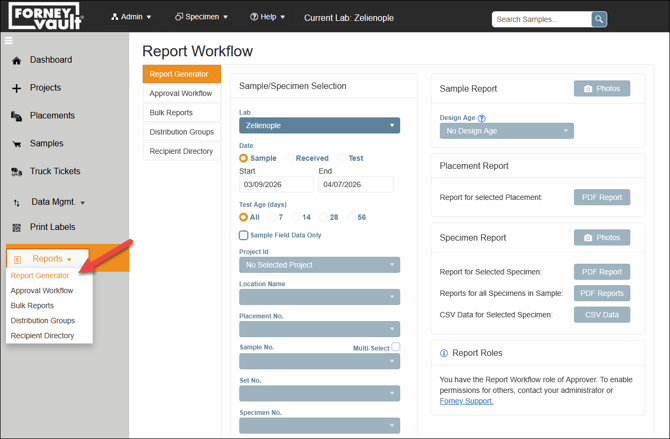
1. Open the Report Generator
- Log in to ForneyTools
- Click Reports from the left navigation menu
- Select Report Generator
2. Select Report Criteria
Use filters to locate your data:
- Lab Name
- Date Type and Range
- Project Number
- Location Name
- Sample Number (required for sample reports)
4. Add Photos and Documents
- With the sample selected, click the Photos button in the top right
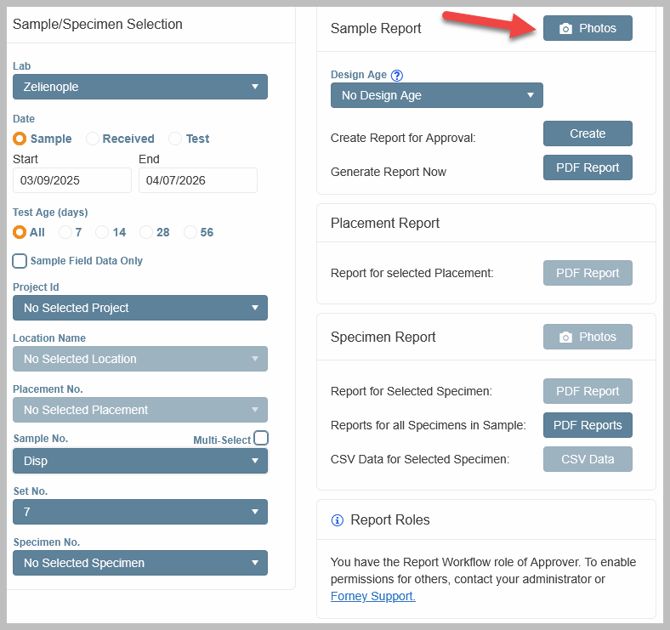
- Select the photos and/or documents you want included
- Save your selection

Select Done when finished.
Important:
- Only selected files will appear in the report
- All stored files are not automatically included
5. Select Report Type
Choose how you want to generate the report:
- Generate Report Now - creates a PDF for immediate distribution
- Create Report for Approval - routes the report through the approval workflow
Need Help?
For additional support, visit:
ForneyVault Support