In order to create your specimens in ForneyVault, you start at the project level. To create a new project:
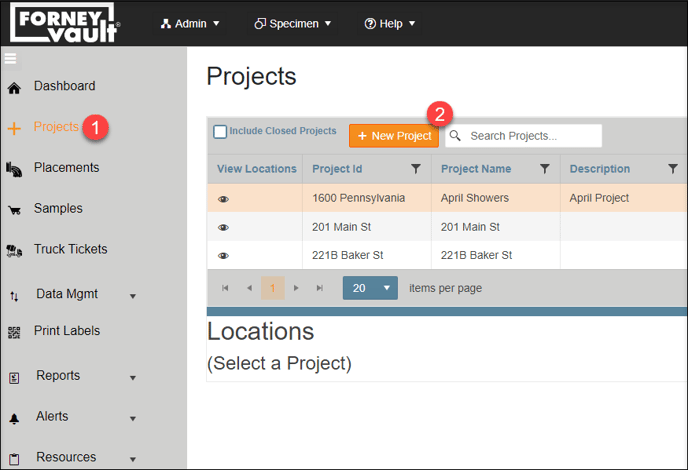
- After logging into ForneyTools, click the Projects link on the left navigation menu then select the + New Project link to begin entering your project data.
- Type your project identifier in the Project ID field (it can be alpha-numeric – it doesn't need to be a number).

- You can add a description and formal name if you like.
- You could choose a client from the dropdown if you created a list of clients earlier (refer to this article to learn about creating clients).
- You will see that your default lab is already chosen if you set that up earlier.
- Click Submit to create your project.
- Your new project will appear on the Projects index page.
- Repeat for each of your projects.
Edit a Project
- If you need to edit a project, click the Manage (
 ) button to make the necessary changes.
 - To record your changes, select the Save button.

- If you want to cancel your edits, click the cancel icon (
 ) button to the right of the project.