![Forney_FV_logo_signature_600.jpg]](https://knowledge.forneyonline.com/hs-fs/hubfs/Forney_FV_logo_signature_600.jpg?height=40&name=Forney_FV_logo_signature_600.jpg)
For more information on ForneyVault's Aggrate Sieve Analysis please visit: https://learn.forneyvault.com/automated-sieve-analysis
Table of Contents:
Aggregate Tablet Navigation
The main menu on the left side of the screen provides access to the primary areas of the Aggregate Tablet.
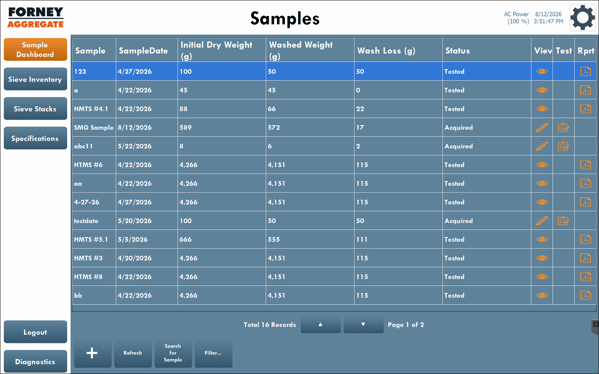
Sample Dashboard – View existing samples, create new samples, search for samples, and access samples for testing.
Sieve Inventory – Add and manage the individual sieves used by your lab.
Sieve Stacks – Create and manage the groups of sieves used during testing.
Specifications – Create and manage the specifications used to evaluate aggregate test results.
Setting Up the Aggregate Tablet
Before performing your first test, complete the initial setup in the following order:
1. Set Up Your Sieve Inventory
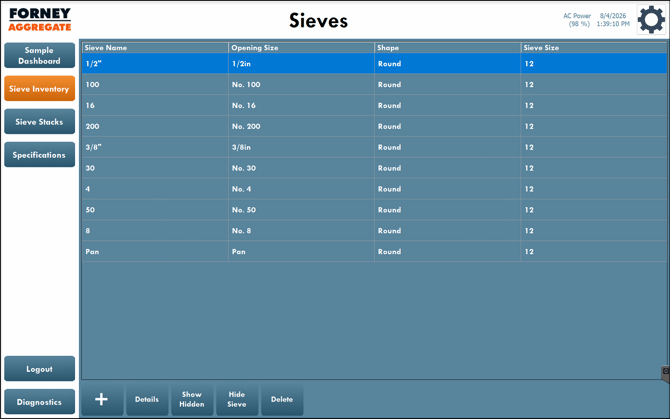
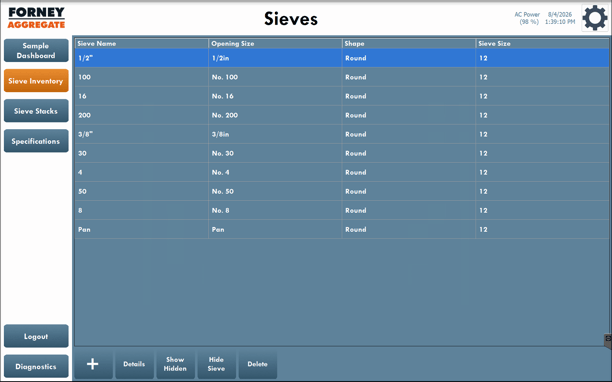
Select Sieve Inventory from the left menu.
The Sieve Inventory contains the individual sieves available for use when creating sieve stacks.
For each sieve, you can define information including:
- Sieve Name
- Opening Size
- Sieve Shape
- Sieve Size
- Sieve Height
- Frame Material
- Cloth Material
- Description
- Tare Weight
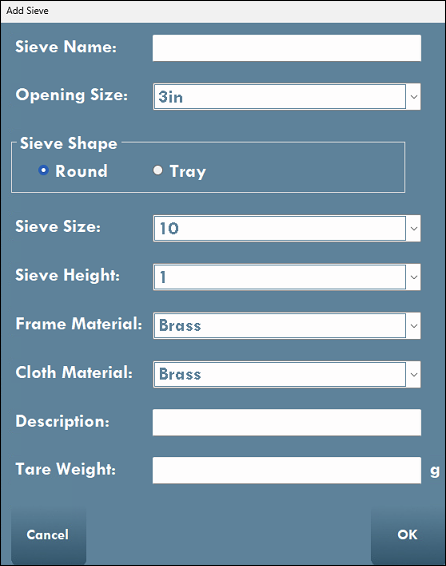
Note: The Tare Weight is especially important because the Aggregate Tablet uses the saved tare weight when determining the aggregate weight retained on the sieve during testing.
2. Create Your Sieve Stacks
Once your individual sieves have been added, select Sieve Stacks from the left menu.
Sieve Stacks allow you to organize the individual sieves from your Sieve Inventory into the configurations your lab uses for testing.
Create a new sieve stack and select the sieves that belong in that stack.
Arrange the sieves in the correct order for the test and save the stack.
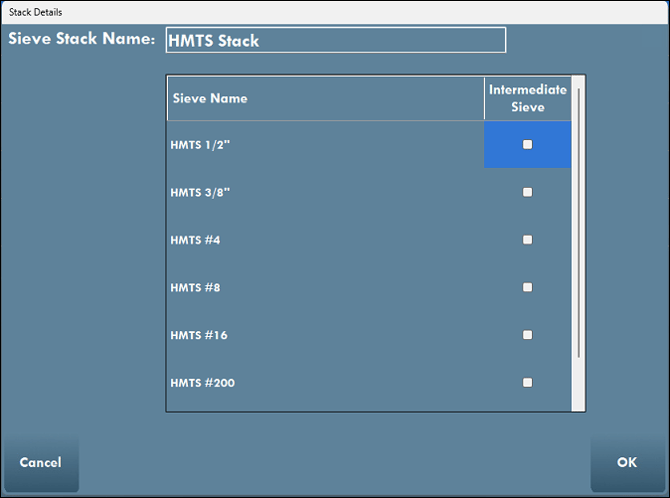
Creating your commonly used sieve stacks ahead of time allows technicians to select the appropriate stack during testing instead of selecting and configuring individual sieves for each sample.
3. Set Up Your Specifications
Select Specifications from the left menu.
Specifications define the gradation requirements that can be used to evaluate the results of an aggregate sieve analysis.
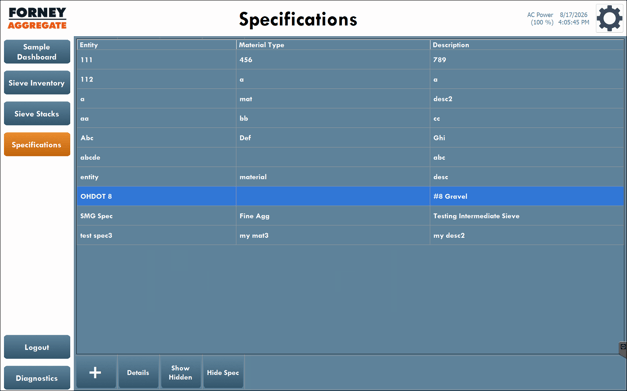
When creating a specification, enter the applicable specification information and define the required minimum and maximum Percent Passing values for the applicable sieves.
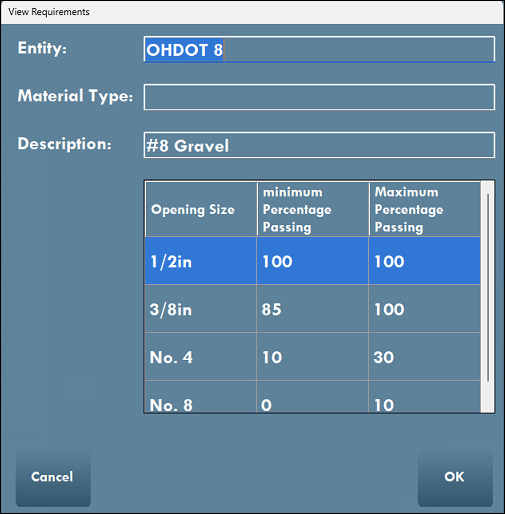
Once saved, the specification can be selected during the aggregate testing workflow and used to compare the sample results against the specified gradation requirements.
Sample Dashboard
Once the initial setup is complete, select Sample Dashboard from the left menu.
The Sample Dashboard is the primary working area for aggregate testing.
From here, technicians can:
- View existing aggregate samples
- Search and filter samples
- Create a new sample
- Open an existing sample
- Access a sample for testing
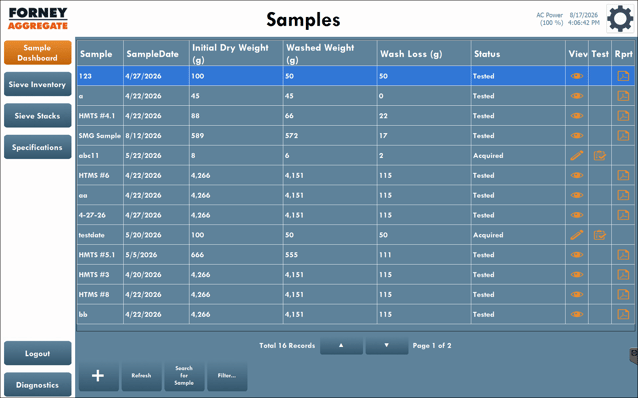
Use the available search and filtering options to quickly locate an existing sample.
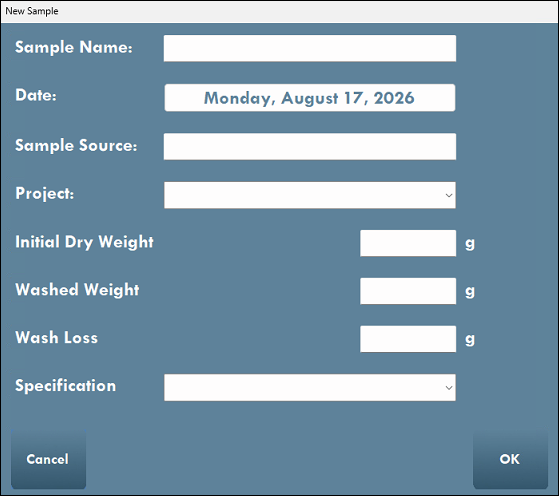
To begin working with a new aggregate sample, select the option to create a new sample and enter the required sample information.
You're Ready to Begin Testing
Once you have:
1. Added your individual sieves to Sieve Inventory
2. Created the appropriate Sieve Stacks
3. Created the Specifications used by your lab
…the Aggregate Tablet is configured for your technicians to begin performing aggregate sieve analysis.
During testing, the technician can select the appropriate sieve stack and specification, enter the required sample and sieve weights, and use the Aggregate Tablet to calculate and review the sieve analysis results.
For the complete testing workflow, continue to:
How to Perform a Sieve Analysis Using the Forney Aggregate Tablet