Before starting this guide, please read the following information:
-
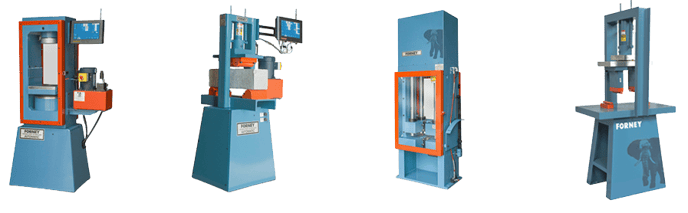
Illustrations in this documentation might look different from your product.
-
Depending on the model, some optional accessories, features, software programs, and user interface instructions might not be applicable to your product.
-
Documentation content is subject to change without notice. To get the latest documentation, go to our Forney Test Machines Knowledge Base.
ABOUT YOUR FORNEY TEST MACHINE
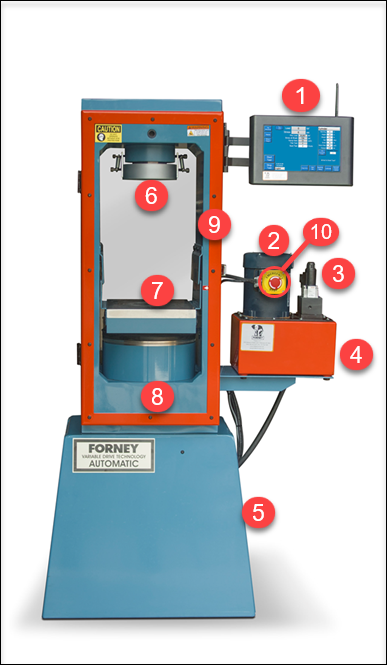
| 1 | ForneyLink | 6 | Upper Breaking Head |
| 2 | Oil Pump | 7 | Lower Platen |
| 3 | Dump Valve | 8 | Piston |
| 4 | Oil Reservoir | 9 | Door |
| 5 | Access Panel | 10 | Emergency Stop |
ABOUT THE FORNEYLINK TOUCHSCREEN DEVICE
RECEIVING PROCEDURES
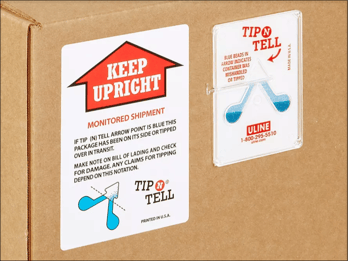
Inspection
- Before uncrating or unpacking your new Test Machine, it is essential to inspect the crates or boxes for any signs of freight or transit damage.
- If you notice any visible damage on the container, please make a note of it and inform the freight carrier upon delivery.
- If the package or test machine has severe damage during shipping, it is recommended to refuse delivery.
- Verify tip indicator is not altered.
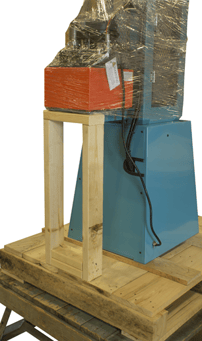
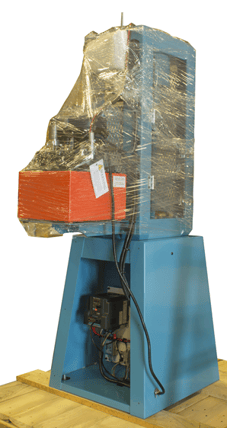
Uncrating Your New Testing Machine
Follow these steps to safely uncrate and set up your testing machine:
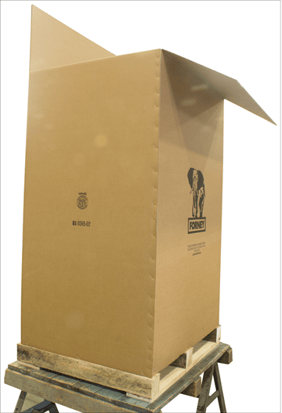
- Cut the Straps – Use appropriate cutting tools, such as shears, to remove the metal straps securing the box.
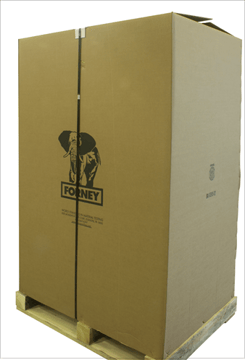
- Open the Box – Lift and remove the top of the box.
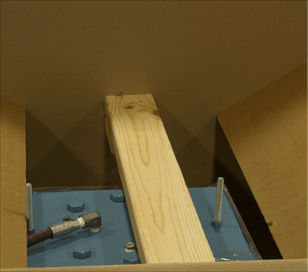
- Remove the Cross Brace – Detach the wooden cross brace from the top of the machine frame. It is stapled to the side of the box.
- Remove the Box – Lift away the remaining box panels.
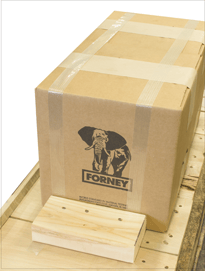
- Unpack Accessories – Remove the wooden bracing securing the accessory cartons to the pallet, then take out the cartons.
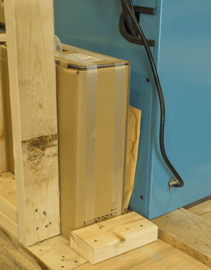
- Detach Braces – Remove all remaining wooden braces attached to the pallet.
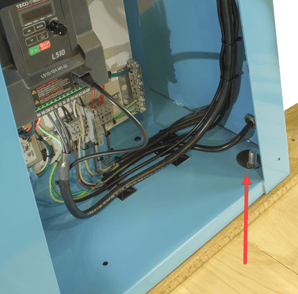
- Access Anchoring Bolts – Remove the machine's bottom-right access panel to reach and remove the anchoring bolts.
- Lift the Machine – Carefully remove the machine from the pallet.
- Verify Parts – Locate the packing list and check that all parts are accounted for.
Following these steps ensures a safe and efficient uncrating process. Retain packaging materials until setup is complete.
TEST EQUIPMENT PLACEMENT
- To prevent corrosion on machined surfaces and electrical contacts, it's advisable to place the Test Machine in an environment free from acidic or contaminating fumes.
- The Test Machine needs to be placed in an indoor environment that is temperature-controlled and has a humidity or condensation level within the specified limits.
- Temperature Range = 41F (5C) to 104F (40C)
- Recommended Humidity = 30% to 70% RH
- To ensure proper functioning, it is important to level all Test Machines accurately and secure them to the floor using anchor bolts.
- When testing high-strength concrete or using pad caps, it is crucial to use the right equipment. Forney suggests using ½" diameter anchor bolts.
- When positioning the Test Machine, make sure to leave enough space on the side and back for calibration and servicing work.
- For optimal performance, it's advisable to use a dedicated electrical outlet that provides the appropriate voltage and current to the unit. Please refer to the stamped identification plate to confirm the specific requirements.
NOTE: Due to the high-frequency switching of the VFD drive, the use of GFCI-protected outlets can lead to nuisance tripping and power loss to the Test machine so is NOT recommended
CARE & MAINTANENCE
To protect your new testing machine during shipping and through extended periods of
exposure to the elements; a rust-preventative has been applied to the external surfaces of the machine.
Before making the hydraulic connections, remove the rust inhibitor after positioning/installing your machine:
- Dampen a clean, dry cloth with a suitable, safe solvent.
- i.e. CRC Quick Clean or similar (use rubber gloves)
- Take a soft cloth and gently wipe the surfaces until they are no longer sticky. Afterward, use a dry cloth to wipe away any remaining residue.
- Solvent use is unnecessary unless particles accumulate and are difficult to remove.
- After conducting tests, it is advisable to use a dry wipe-down to minimize particle contamination.
NEED SUPPORT
Support Ticket:
If you’re already a customer, the fastest way to get technical help is through our support ticketing system. Please fill out the form and our support team will get you answers ASAP.
https://forneyonline.com/customer-service/
General Phone Support:
We still believe in service defined by a helpful voice at the other end of the phone. Our technical team is available for unlimited general product support inquiries on all the equipment we manufacture. Reach us via phone or email: Monday – Friday 8:00 AM to 5:00 PM Eastern
- Phone: 724-346-7400
- Toll-Free: 800-367-6397